JupyterLab#
Important
If you’re on a free account, always back up your work because your app can be terminated if inactive. If you need JupyterLab deployed with production settings, contact us contact@ploomber.io
Deploy from the menu
You can deploy JupyterLab to Ploomber Cloud and use it as a development environment. First, create an account.
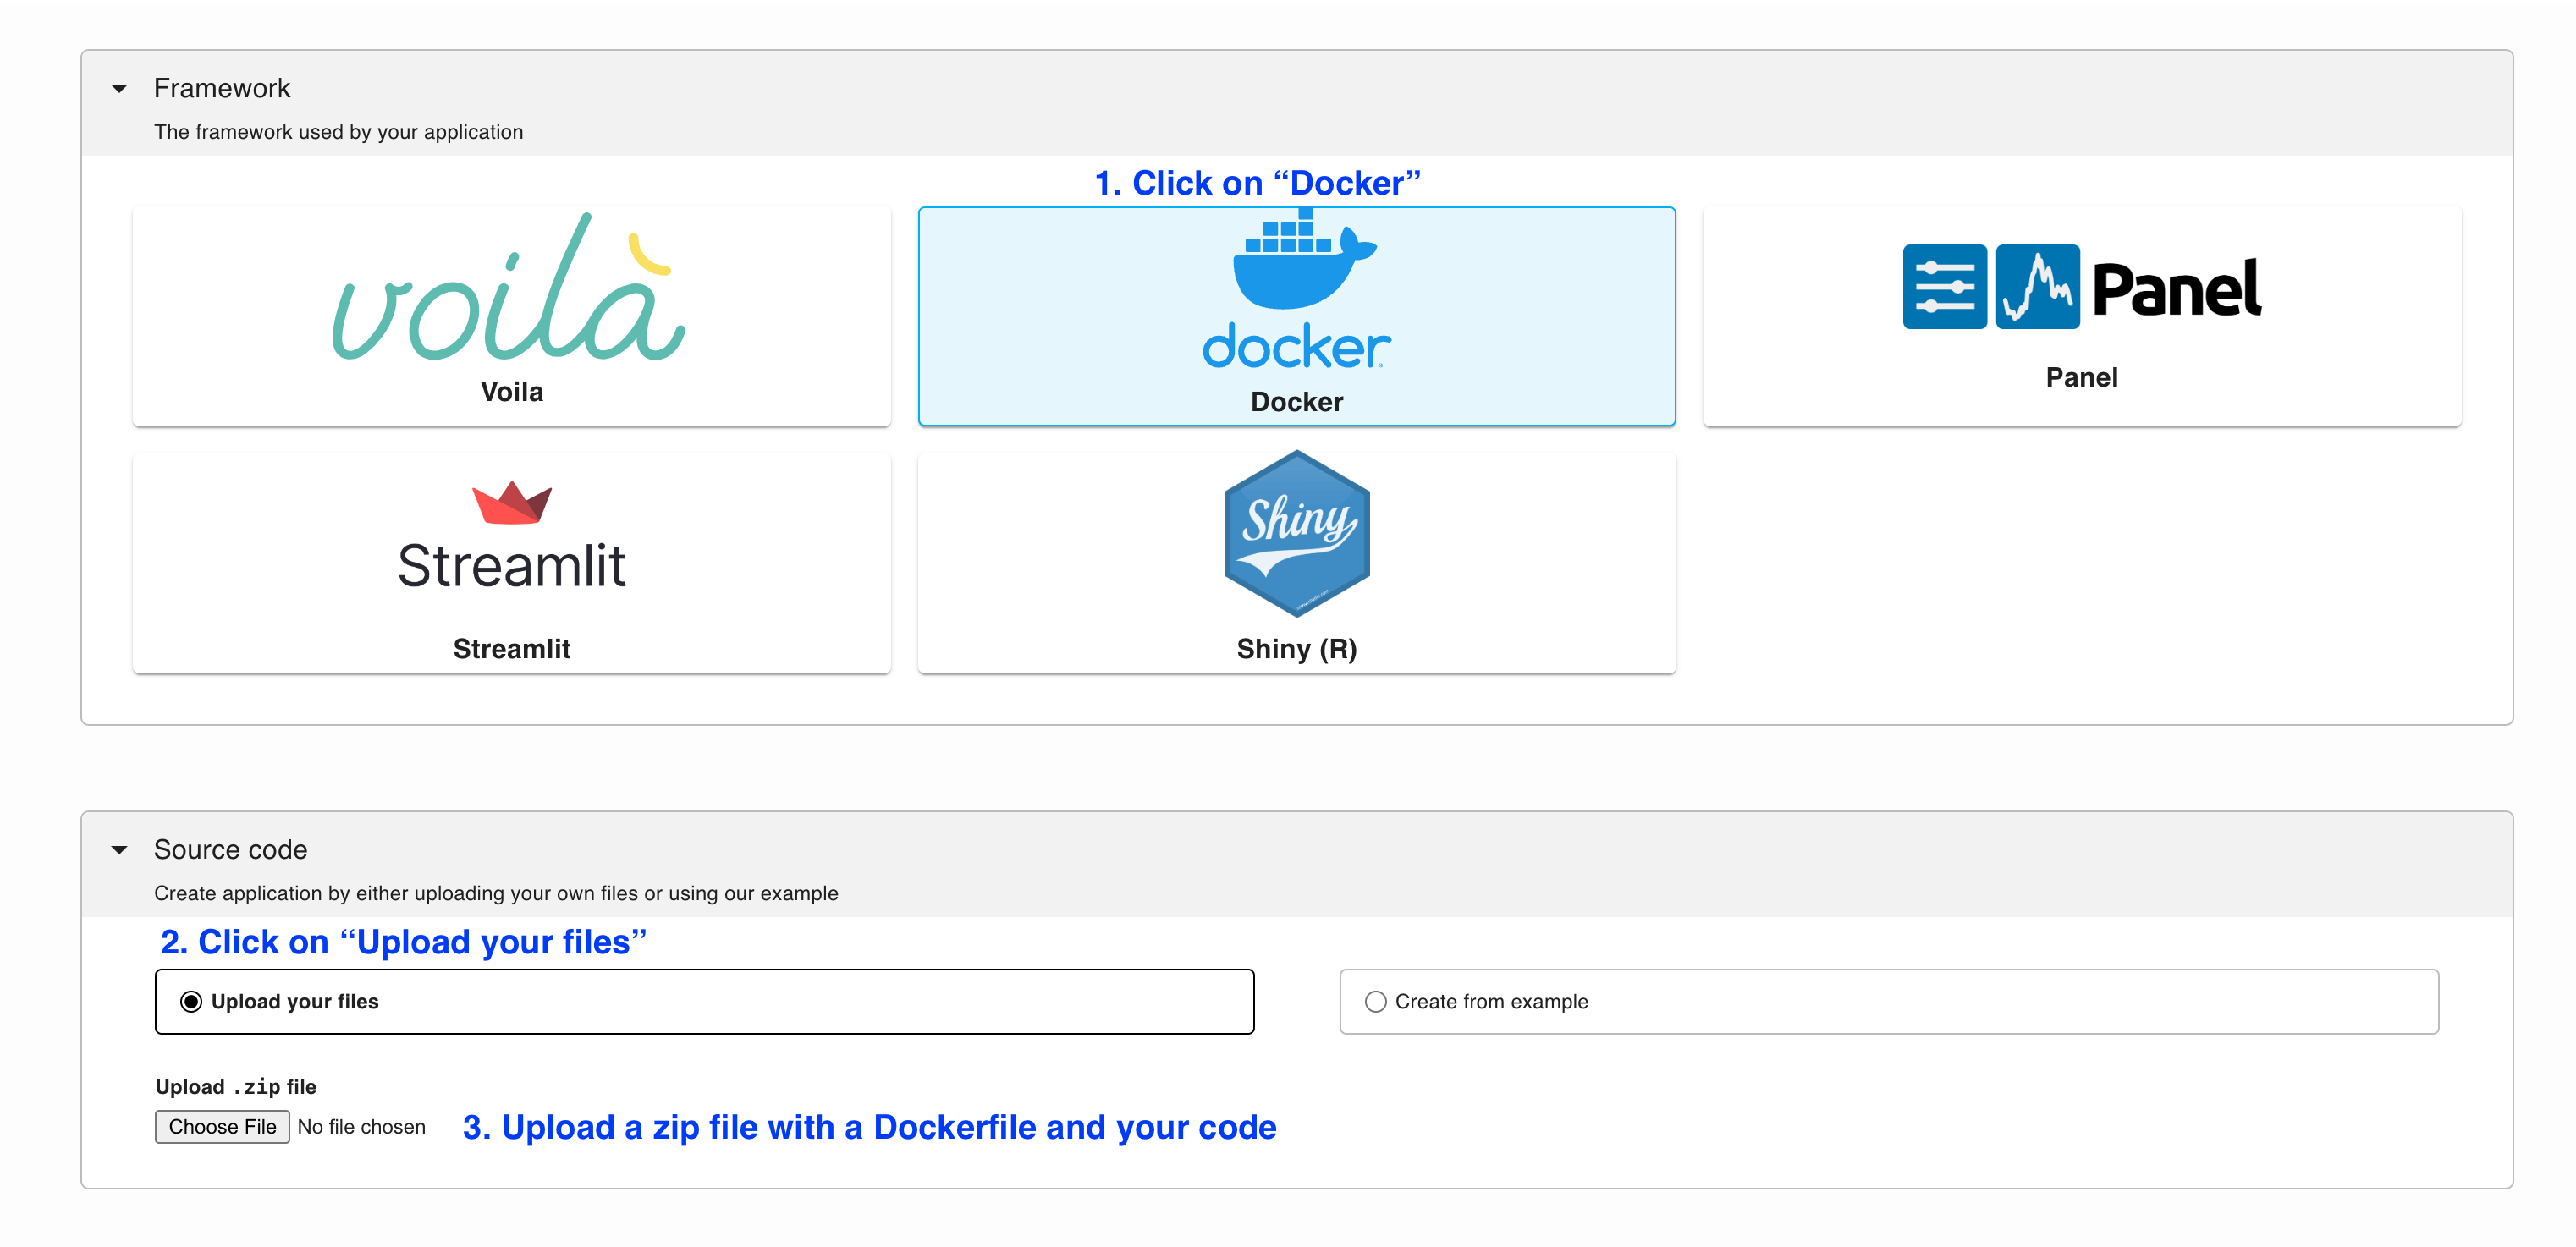
Then, download the files from the
example (GPU version available here), create a .zip file and deploy it using the Docker option:
To download and deploy JupyterLab start by installing Ploomber Cloud and setting your API key:
pip install ploomber-cloud
ploomber-cloud key YOUR-KEY
Tip
If you don’t have an API key yet, follow the instructions here.
Now, download the JupyterLab example. It will prompt you for a location to download the app. To download in the current directory, just press enter.
ploomber-cloud examples docker/jupyterlab
You should see a confirmation with instructions on deploying your app. Now, navigate to your application:
cd location-you-entered/jupyterlab/
Deploy from the CLI
Initialize and deploy your app with:
ploomber-cloud init
ploomber-cloud deploy --watch
You can view the deployed application by logging in to your Ploomber Cloud account.
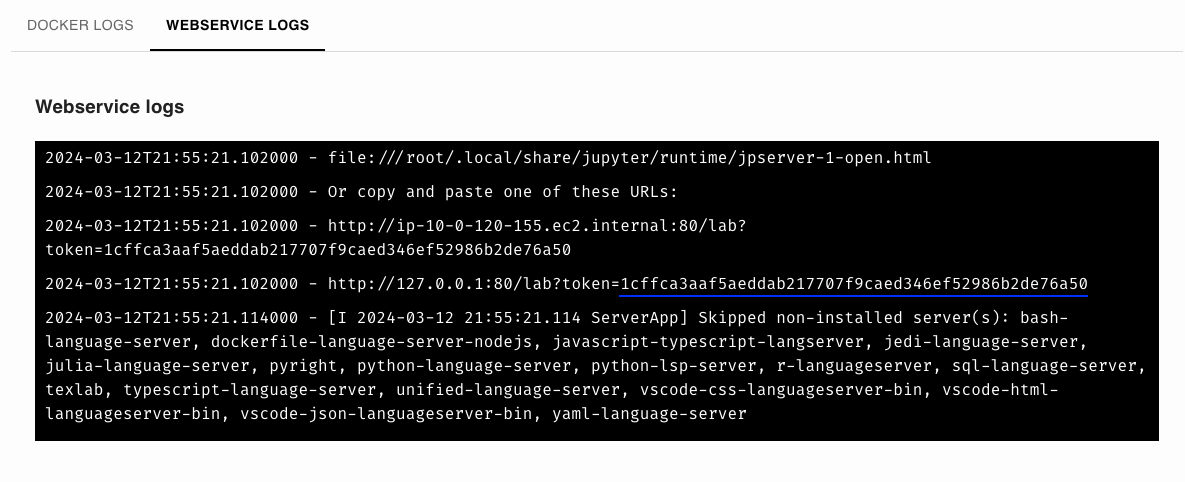
Once the deployment finishes, go to WEBSERVICE LOGS and copy the token:
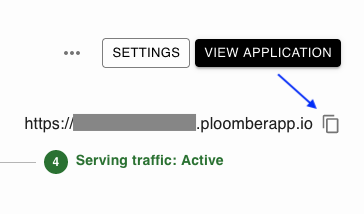
Then, open the application by clicking on VIEW APPLICATION:

Then, scroll down, paste the token, and set a password (write it down!):
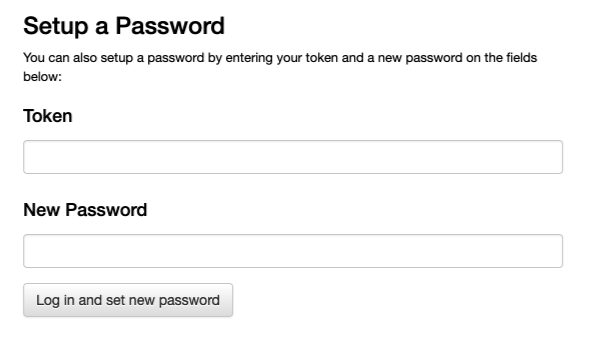
And you’re ready to use JupyterLab!
Real-time collaboration#
Collaboration is configured by default! Share your id.ploomberapp.io URL with a colleague, the password, and open the same notebook, you’ll get Google Doc-like collaboration!
Remote kernel#
In the previous example, we showed how to run JupyterLab in Ploomber Cloud, this implies running both the user interface and the server (which manages the kernels used to execute code).
An alternative approach is to only deploy the server, and allow you to connect to the server from your local JupyterLab installation. This has a few benefits:
Open local notebooks and execute them using remote resources (e.g., a GPU)
Use JupyterLab extensions installed locally
Install packages once and allow your team to use them without installing them locally
Allow multiple users to share the same environment while isolating their files
To deploy a Jupyter server, download the files from the
example, create a .zip file and deploy it using the Docker option:
Before clicking on CREATE, you need to create an authentication token, run the
following locally (you can define an alternative token, but this is more secure):
python -c 'import secrets; print(secrets.token_urlsafe())'
Copy the printed value (store it somewhere safe) and save it as a secret, with
the name KG_AUTH_TOKEN, now click on CREATE.
Once the application is running, copy the URL (the someid.ploomberapp.io URL):
We can connect to the remote kernel. Install JupyterLab locally:
pip install jupyterlab
And initialize it with your someid.ploomberapp.io URL and the token you set earlier:
GATEWAY_HOST=someid.ploomberapp.io
TOKEN=sometoken
jupyter lab --gateway-url=$GATEWAY_HOST --GatewayClient.auth_token=$TOKEN
If all goes well, you’ll be able to create a new notebook:
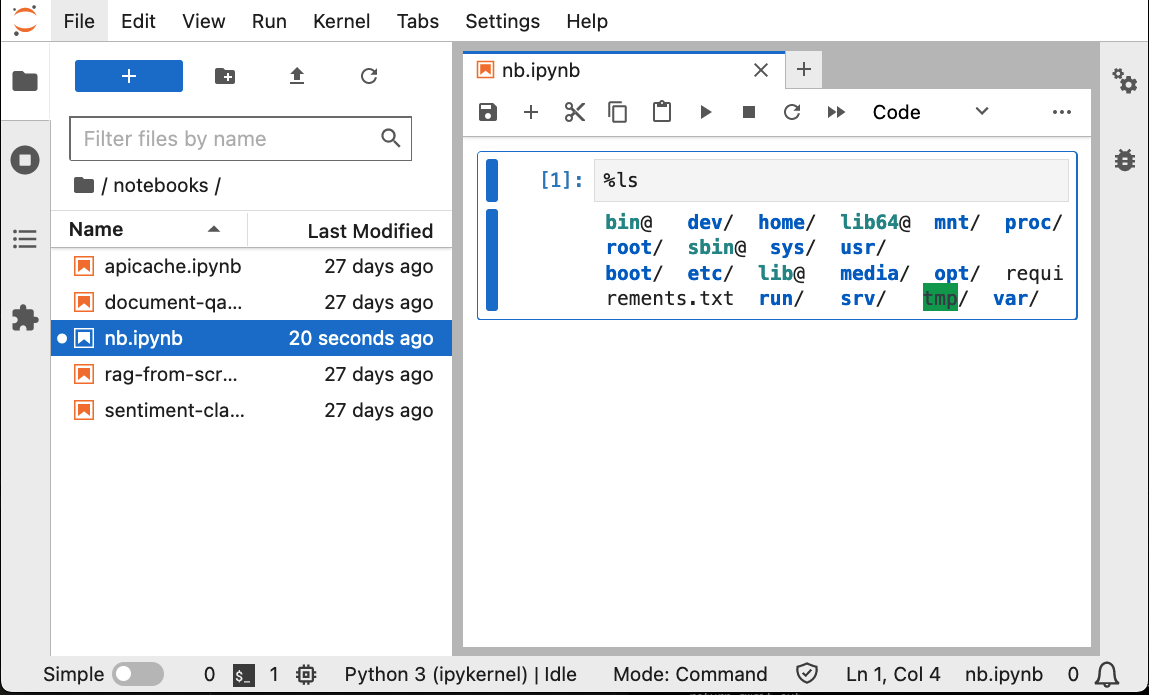
Note that the files listed on the left bar won’t match what your notebook sees, that’s because the left bar shows your local filesystem, but the kernel is running remotely.
Remote GPUs#
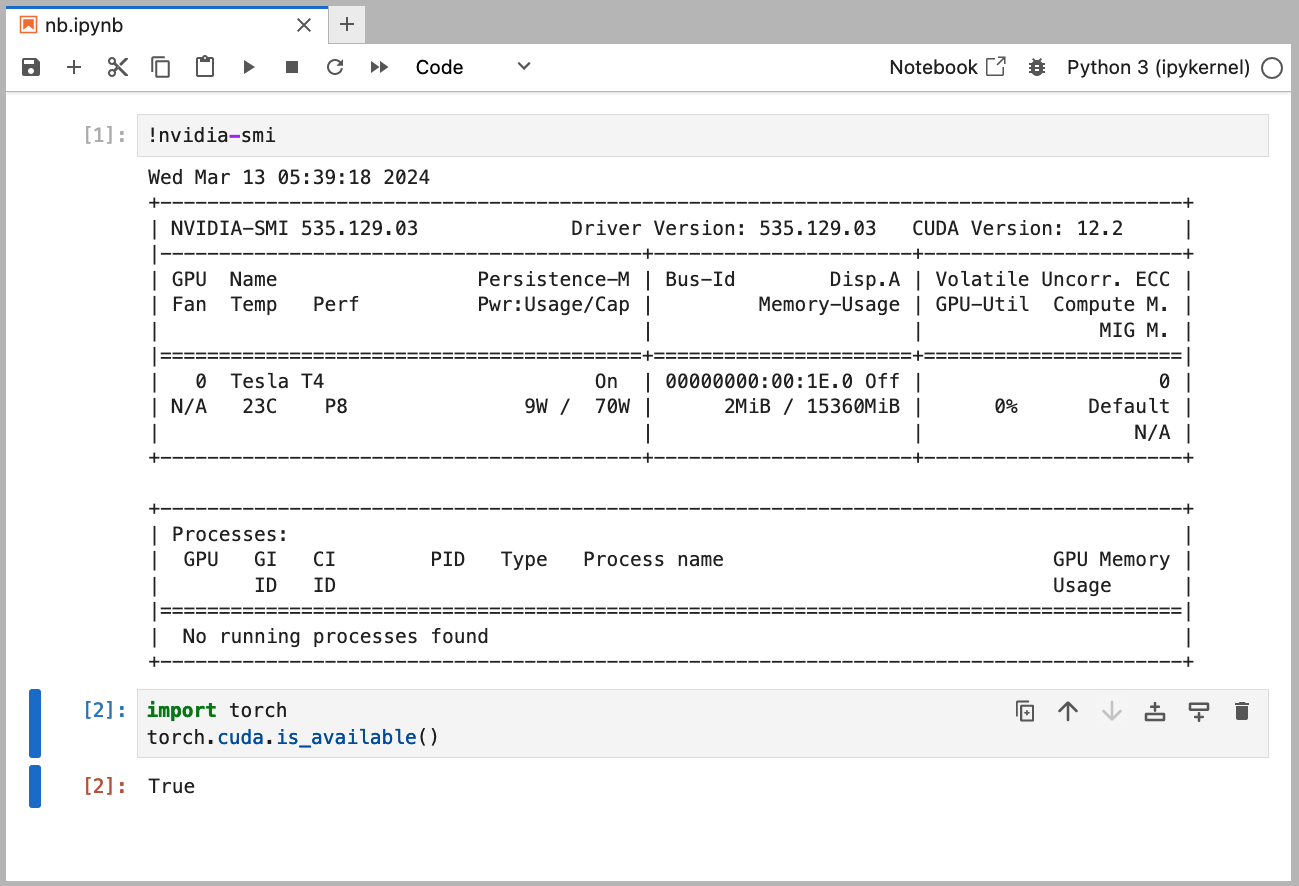
If you want to connect to GPUs, use this example, follow the instructions from the Remote Kernel section, and add GPUs to your app when deploying it.
If all went well, you’ll be able to execute !nvidia-smi to see the available GPU and torch with CUDA: